
Comfort on a winter evening: Homemade herbal candles
/Around the 1st or 2nd of February, many northern cultures have a celebration focused on candles. For Catholics, it is Candlemas in which the year's supply of candles used to be brought to the church to be blessed. For modern Neopagans, it is Imbolc, the festival of the Irish fire and hearth goddess Brigid, which derives from her ancient feast day at this time. In Eastern Europe, it is the Thundering, when protections against lightening and fire are renewed also with many candles. The Chinese New Year also takes place around this period with a show of lanterns and candles.

There is undoubtedly something evocative in the coldest blast of the winter that makes lighting small warm candles immensely comforting. It is also the time when pre-industrial people commonly made their household candles. Candlemaking is warm work and in the summer it can be downright unpleasant, but at this time of year it is both more pleasant and often quicker.
Candlemaking in January in the run up to Imbolc has become a winter tradition at my house and I most especially like to make candles that smell and look beautiful. I have spent several years perfecting this craft and I would like to offer my conclusions here, so that you can avoid some of my more foolish mistakes the easy way.
Here is a quick and easy guide to winter candlemaking using herbs, essential oils and molds.
You will need:
- Wax: Bees wax is good and will primarily make the traditional yellowish candles. It may come in large rough chunks or in sheets of pre-melted wax. Paraffin candle base is also good. It is usual sold as white granules and can be more easily dyed.
- Wicks: You can buy wick from craft stores. Short wicks with tiny metallic discs attached at one end make it easier to hold the wick in place, but you can also cut lengths of wick from a longer string. You can even make your own wick by dipping cotton string in melted wax.
- Molds: You can technically make candles without a mold by dipping the wick repeatedly in a large vat of hot wax. However, this is tricky and requires a lot of time and arm strength unless you have a lot of specialized equipment. It is a lot easier to use molds and these can also give your candles a desired shape. You can buy candle molds from craft stores, of course. You can also use small boxes lined with wax paper. I have found that cookie cutters smeared with a little cooking oil and placed on wax paper work nicely to make different shapes of candles but they will leak a bit so this method requires patience. The best household candle molds of all are silicon muffin tins. These are completely heat resistant and will not stick to the wax at all. Glass and metal baking ware will often stick and you may be frustrated trying to get your candles out of the mold. Prep them with some grease to aid in that process.
- Essential oils: Essential oil is optional and people who are sensitive to aromas should be cautious with their use, but I love to add essential oils to my candles. Pine, rosemary, lavender, rose, nutmeg and mint all make good candle fragrances that can be used for special occasions throughout the year.
- Dried herbs: You can also add dried herbs to your candles, which can provide a natural scent when the wax around the herbs is heated. They also create beautiful patterns in the sides of the candles. However, it is preferable to keep the herbs on the outer edge of the candles, away from direct contact with the wick, because the herbs can burn unpredictably and present a danger of fire and hot wax spills.
- Wax colors: Coloring is optional but can be very fun. I have tried a great many options for coloring candles using homemade supplies, including food coloring, berry juice and spices--all to no avail. I am back to buying wax dyes from craft stores. These work wonderfully but are not entirely necessary to make beautiful candles.
- A metal pot, preferably one dedicated to candle, soap and salve making. Some of us like to call this our "cauldron," even though that is usually just a glorified name for an older and less-favored household pot.
- A metal dipper

How to make the candles:
- Heat the wax. Use a low heat and allow the wax to melt over about 20 or 30 minutes. If the heat is low it will not burn, catch fire or spatter and you can prepare your other materials while you wait.
- Prepare your molds. If you're using glass or metal molds smear them with cooking oil to make it easier to get the candle out of the mold. Only use glass if you are using glass molds specifically designed for candles as normal glass will shatter when it comes in contact with the hot wax. Also do not use plastic, except silicon used for baking in ovens. Many plastics, including my plastic measuring cups which stand up to regular cooking temperatures melt at the higher temperatures wax may reach.
- If you're using cookie cutters, place wax paper on your work surface and position the cookie cutters so that you can hold down several of them at one time.
- Insert wicks into the center of the molds. Don't worry if you wicks initially lean over. You will be able to correct this later.
- Once your wax is hot, add essential oils and colors to it. Add just a little color at first and then add more as you go. A little goes a long way. Estimate about 20 drops of essential oil in about a cup (220 ml) of hot wax. This doesn't have to be exact and over time you will discover if you prefer more or less than that, but this is a conservative start.
- Use a metal dipper (how did you think I know about the melting temperature of plastic measuring cups?) to pour a quarter inch (half a centimeter) of hot wax into each of your molds. If you're using cookie cutters or other molds which are not attached to the bottom part of the mold, hold them down firmly for a minute and blow around the edges. (It helps if you work in a somewhat cold room.)
- Then adjust your wicks to stand upright. (No, creative wick angles don't work very well when the candle is actually lit. They burn best straight up and down.)
- You may add dried herbs around the edges of your candle at this point for deeply embedded herbs.
- Continue pouring in a little more wax. Press down on cookie-cutter molds and readjust wicks as needed.
- Be patient and exercise great caution when pouring the hot wax. Wax can cause severe burns and unlike water the burning liquid will not run right off of your skin and will be hard to remove immediately. The best first aid for burns is always immediate immersion in very cold water. This is essential. Do not be swayed by other claims of home remedies in the first 30 minutes after a burn occurs. Cold water, period, and seek professional medical attention if the burn is significant.
- An advanced technique is to create multi-colored candles by pouring first a layer of one color and then after it cools, adding a layer of another color. This can be done with multiple colors and the only limit is your imagination and patience. The effect is quite beautiful as the candle burns down through multiple colored layers.
- Once you have filled your candle molds, hopefully without having to use the cold-water first aid for burns, you give the wicks a final adjustment, prop them in place if necessary and wait until the candles cool, at least several hours.
- Remove the candles from the molds and trim the wicks.
- If you wish, you can heat the candles slightly in an electric or wood-heated oven (not a microwave or gas oven) and stick dried herbs to the outside of the candles when they become sticky. Then allow them to cool again.
A little book for the day of candlelight

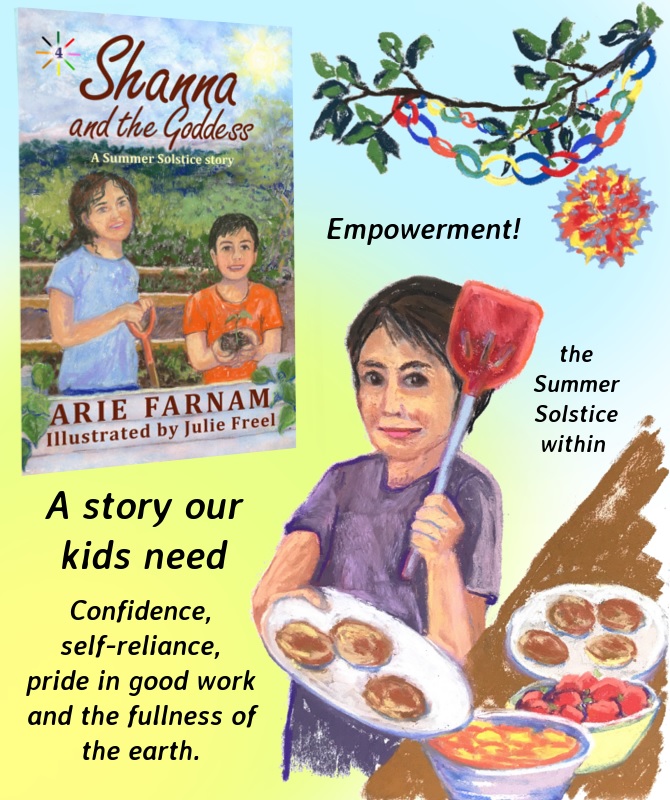
If you would like to learn about the old Irish fire festival of Imbolc and its candlelight traditions in the form of a modern story, I have a book for you. Shanna and the Raven is a story for families and children to share an adventure of learning to trust intuition amid the candles of an Imbolc celebration. It is a suspenseful story that will grip children seven and up as well as adults.
This little book also includes a recipe for strawberry dumplings, a traditional seasonal dish from Bohemian grandmothers, and a tutorial for making a doll figure of the Irish goddess Brigid. The book is illustrated with kid-friendly pastel paintings by Julie Freel. While this is mostly a modern adventure story, it also has much to teach both about the holiday and connecting to intuition.
Another potent symbol of the intuition, inspiration and prophecy of the season is the crow or raven, which is featured Shanna and the Raven. You can read last week's post on the history and mystery of crows and ravens here.